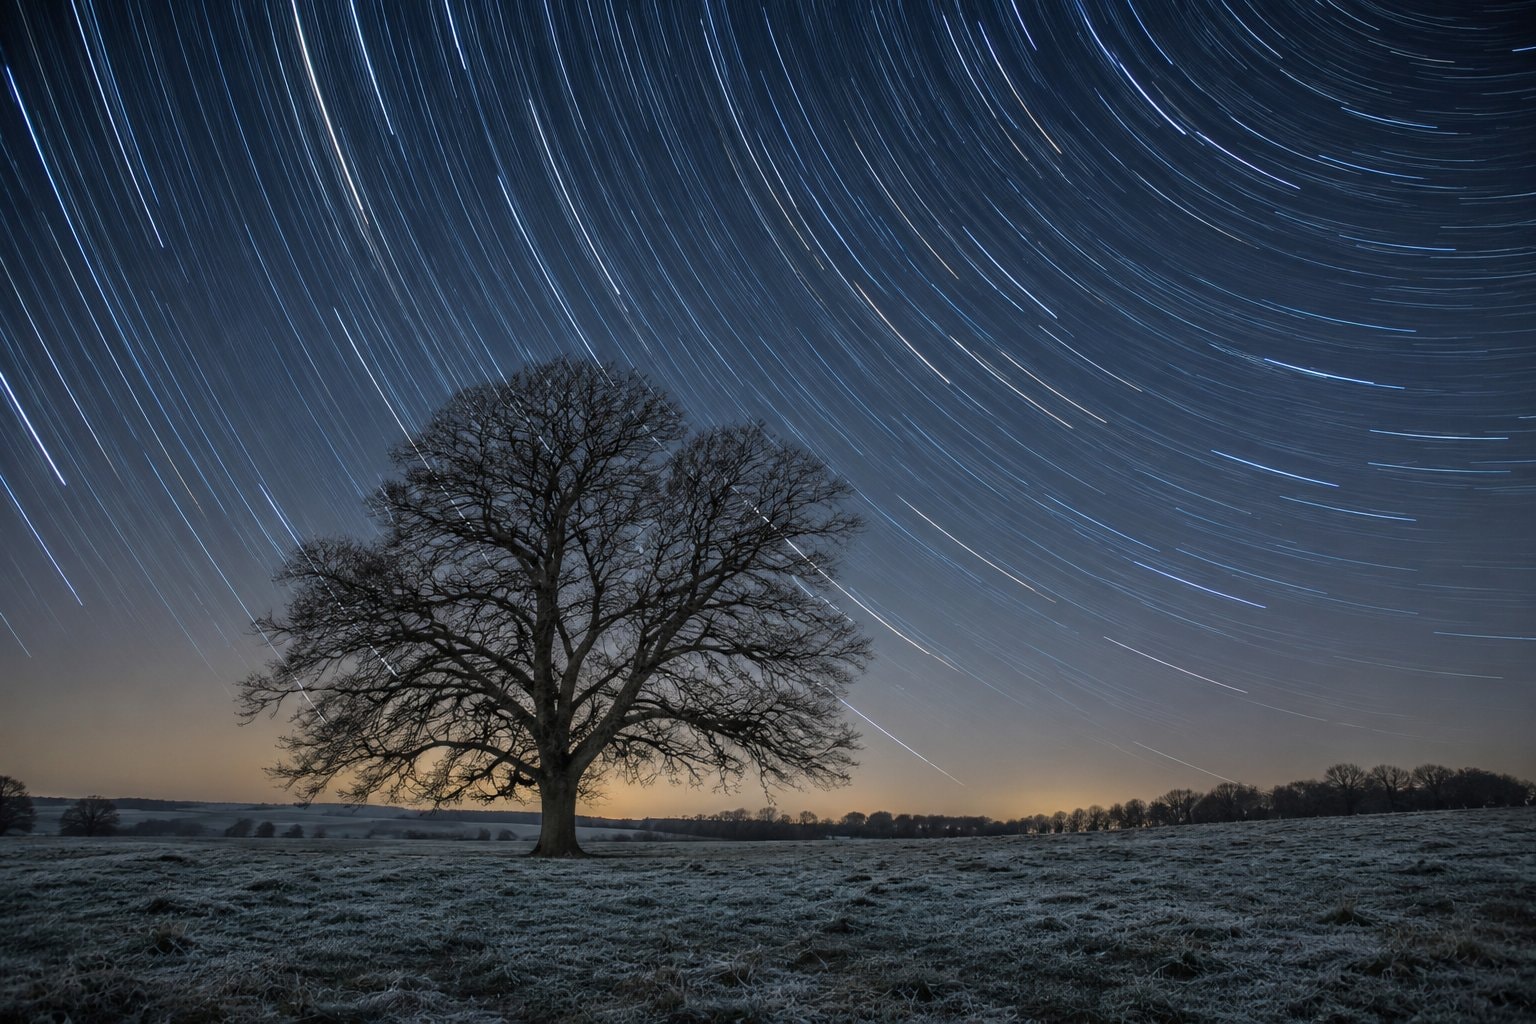
Astrophotography means making a photograph of the sky rather than relying only on the view through an eyepiece. It can begin with a camera on a steady support and grow into a demanding combination of optics, tracking and image processing. Start by deciding what the picture is meant to show. A landscape under stars, trails made by their apparent motion and a close view of the Moon are different projects, even when the camera is the same.
Wikipedia's astrophotography article describes both simple tripod-based work and advanced amateur imaging, and explains that long exposures allow a camera to accumulate light. Its history section describes the difficulties early photographers faced with dim objects, telescope rigidity and tracking. The basic tension is still easy to understand: the camera needs enough light, while the equipment and the view need to behave predictably. An elaborate setup does not remove those questions.
Choose a simple kind of picture
A wide view keeps the sky and foreground in the same composition. Look for an uncluttered horizon and a position where equipment can stand firmly without blocking a path. Decide whether the ground is part of the picture or only a base for the camera. Make that choice before working in darkness, when small obstructions are harder to see. The observing-place guide discusses access, footing and horizons that matter to photography as well as visual astronomy.
A whole-disc view of the Moon offers a bright subject with a recognisable shape. Keep the expectations modest while learning to aim and focus. A bright object is not automatically a simple exposure: the sky around it can be very dark while its sunlit surface is bright. Check the image itself rather than judging only from the appearance of the scene around the camera. A frame with lost bright detail is a useful lesson about exposure, not evidence that the Moon lacks detail.
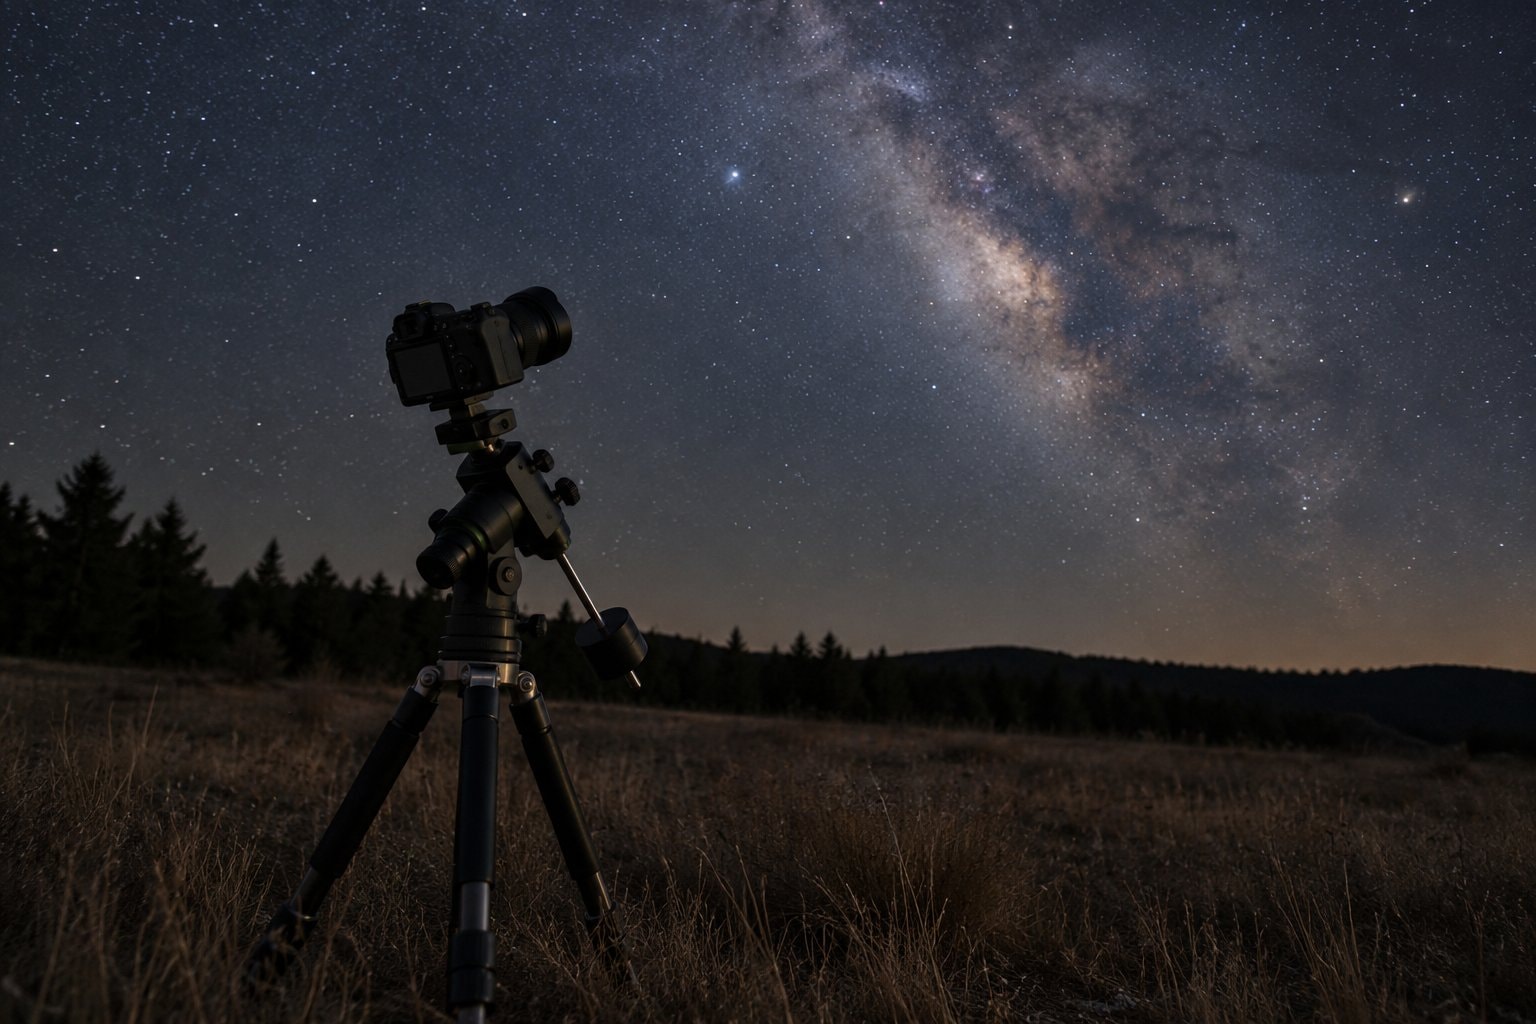
Star trails use apparent sky motion as part of the picture instead of trying to keep stars as points. A foreground tree or a simple horizon can give that motion context. A fixed-camera approach has a different purpose from a tracking setup, so choose deliberately between them. For a broad Milky Way view, the balance changes again: the background sky and the contrast of its diffuse light become central. Keep the first project narrow enough that a result can be understood.
Why the mount matters
During a long exposure, a camera records changes that may be difficult to notice while standing beside it. A small movement of the support or an imperfectly followed star can leave a visible mark. The mechanical parts therefore deserve as much attention as the lens. Set the equipment on firm ground, keep cables from pulling on it and make focusing adjustments deliberately. A session spent learning how the support behaves can be more useful than changing several settings at once.
Wikipedia's equatorial-mount article explains that aligning the polar axis with Earth's rotation allows tracking of the sky's apparent motion, while the image avoids the focal-plane rotation associated with an altazimuth mount. Polar alignment is therefore part of the geometry of the photograph. It is not just a way of finding a target. Tracking aims to keep the intended sky area in place while the camera gathers light.
The astrophotography article also describes tracking errors from imperfect drives, mechanical sag and atmospheric effects. A tracked image is not automatically an accurate image. Examine the shape of stars across the frame, and note whether a problem is consistent or changes during the session. Keep a record of the setup so the next attempt starts from something known. Otherwise a change of focus, support and processing can make the reason for a different result hard to identify.
Wide fields and long focal lengths
A wide field can place an object within its surroundings, while a narrower field concentrates on a smaller sky area. Neither is inherently a more serious form of astronomy. The useful choice depends on what the picture is meant to explain. Framing is part of that choice: leave enough room around a target to understand its position and the limitations of the equipment. A closely cropped image can hide a problem at the edge without solving it.
Wikipedia's Schmidt–Cassegrain article describes a compact catadioptric design with a long focal length and a relatively narrow field. It shows why a short physical tube does not necessarily produce a wide sky view. The light follows a folded path inside the instrument. The telescope-design guide sets this alongside lens-based and mirror-based designs without treating a particular layout as the answer to every photographic task.
Learn the existing setup before adding a telescope or a different mount to it. Make sure you can assemble it, focus it, recognise a poorly followed star and pack it away in the dark. A complicated arrangement can introduce several uncertainties at once. Simpler framing and familiar controls leave more attention for the sky and the image. The aim is to know why a photograph looks as it does, not merely to collect more equipment.
Why a photograph differs from the eyepiece
Wikipedia's astrophotography article describes image processing that combines frames and adjusts brightness, colour and contrast. A finished photograph can therefore express accumulated light and later choices about its display. This does not make every processing choice equally informative. Note what was combined and altered, and distinguish a display choice from a feature directly visible in a raw frame. A photograph is easier to understand when its method and limits are clear.
Wikipedia's eye-adaptation article explains that dim-light vision is dominated by rods and has limited colour perception. A camera's accumulated signal and a dark-adapted visual impression are different kinds of view. Do not use a colourful photograph as a promise of what someone will see at the eyepiece. The deep-sky guide discusses this distinction for faint nebulae, clusters and galaxies. Their visual interest need not depend on matching a published picture.
Make the next attempt understandable
Keep short notes about the subject, sky conditions, equipment arrangement and choices made at the camera. Afterward, separate what worked from what remains uncertain. Was the target framed as intended? Did focus hold? Were the stars shaped as expected? Those questions give the next attempt a purpose. A small change with a clear result is easier to learn from than a completely different setup with no record of the earlier one.
Finish with enough attention left to pack away safely. Photographing the sky can involve long periods waiting beside equipment, and the temptation to keep going may outlast a useful session. An unfinished project can continue on another suitable night. A patient sequence of understandable attempts gives both the photograph and the observer a firmer basis for progress.