A forecast of clear weather is only the beginning of an observing plan. A view can be free of thick cloud but still lose faint contrast, and a bright planet can be easy to find while its detail refuses to settle. Wikipedia’s Clear Sky Chart article describes forecasts designed for astronomers, with cloud cover, transparency and seeing distinguished from the conditions in ordinary civil or aviation forecasts. Read these parts separately before deciding what the night is likely to offer.
Clear, transparent and steady mean different things
The Clear Sky Chart website explains that its forecasts combine cloud, transparency and seeing information to help distinguish a promising planetary night from a night suited to faint galaxies. The useful question is not simply whether an observing period receives a favourable colour. It is which condition the colour describes and what that condition means for the target you have in mind. A forecast becomes more useful when its categories are connected to an observing task.
Begin with cloud cover. A cloud crossing the target can interrupt a view regardless of how steady the air is beyond it. Wikipedia’s chart account notes that thin cirrus can matter to astronomers even when an ordinary forecast describes the sky as clear. Look outside as well as at the forecast, checking whether haze or high cloud changes the brightness and contrast of familiar stars. The actual view helps explain what the forecast category means.
A forecast is a prediction rather than a description of the view already in the eyepiece. Keep room for changing conditions and for a simpler alternative target. A session does not need to fail merely because the intended faint object is no longer a sensible choice.
Transparency: how much light gets through
In that account, transparency concerns how much starlight passes through the atmosphere when it is otherwise free of cloud. Think about the contrast between a faint object and the surrounding sky. A diffuse glow may become difficult to distinguish when the view is hazy, even though a bright star remains easy to locate. That is a different problem from the star’s image dancing around in the eyepiece.
Use a familiar field as a comparison. Note whether its faint stars or broad glows are reasonably distinct, and compare directions rather than assuming the whole sky looks the same. The page on light pollution and dark skies explains why sky brightness belongs beside atmospheric conditions when judging a faint-object search.
Keep the description specific: faint detail difficult in a hazy sky is more useful than a general statement that the night was bad. The notebook can distinguish what the forecast suggested from what the view actually supported. That comparison helps make the categories familiar without turning a casual session into a measurement campaign.
Seeing: whether detail holds still
Wikipedia’s astronomical seeing article describes the blurring, twinkling and distortion caused by atmospheric turbulence. This is why cloudless weather can still give a restless planetary view. Check whether an outline sharpens briefly and then softens, or whether a fine feature remains clear. The forecast’s seeing category concerns this optical steadiness, not simply the absence of cloud.
Choose a target to suit that distinction. A broad star field can remain interesting while a close planetary view is unsteady. If a detailed view refuses to settle, try a wider view instead of enlarging the blur. Describe the moments of clarity separately from the general softness of the scene.
Local setup also deserves attention. Let an instrument settle after you touch it and notice whether movement comes from the support or from the image itself. A shaky mount and an unsteady atmosphere can both make detail hard to study, but they are different observations. Changing the observing task is often more useful than blaming all softness on the same cause.
Darkness and the Moon
Wikipedia’s lunar-phase article explains that the visible sunlit part of the Moon changes as the relative positions of Earth, Moon and Sun change. Its phase therefore belongs in the plan alongside cloud and seeing. A promising weather forecast does not tell you that the sky will be free of moonlight during the period you intend to observe. Check the Moon’s place in the night before choosing a faint target.
Wikipedia’s light-pollution article also notes that a full Moon makes the night sky brighter. A bright lunar night can still support an enjoyable plan centred on the Moon or planets. The page on observing the Moon explains why changing illumination creates different lunar subjects. Match the plan to the available light rather than asking the night to suit every object.
Twilight and the local horizon matter too. An astronomical prediction of darkness does not remove a nearby lamp, a tree line or a building from the observing position. Keep the forecast separate from the practical view of the target. The page on where to observe covers those local questions in more detail.
Dew and cold are part of the session
Prepare for the comfort of standing or sitting quietly outside, rather than dressing only for carrying the instrument into place. Warm layers and a comfortable arrangement help keep the session manageable. Leave a clear space for equipment and notes, and keep the plan short enough to change when conditions become uncomfortable.
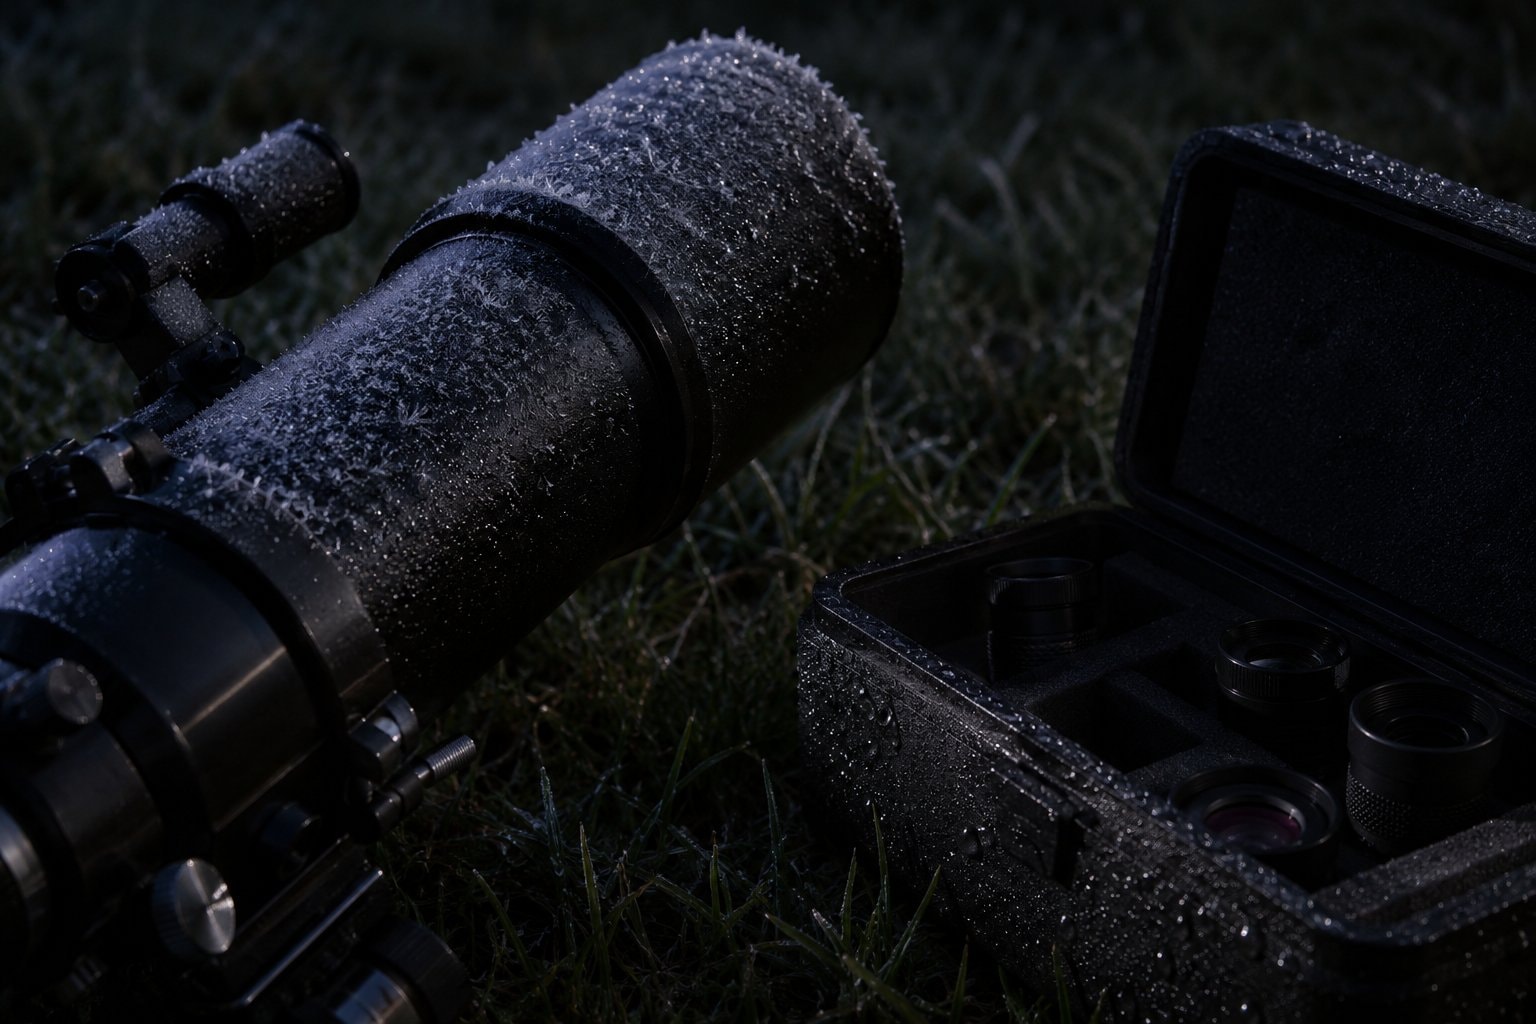
Notice dampness as well as cloud. If an optical surface looks misted, record that as a practical change in the equipment’s condition instead of assuming the sky itself has become less transparent. Dew on surrounding surfaces and frost on a case are reasons to reassess the session. A forecast cannot replace attention to the instrument and the observing place.
Compare the forecast with the actual sky
The Clear Sky Chart article describes each chart as a point forecast for a particular place, rather than a uniform description of an entire region. Choose information relevant to the place you can use, then compare it with the horizon and the view. Do not assume a promising forecast elsewhere describes the exact conditions at your setup.
Write a short expectation before observing: the main target, the condition most likely to matter and an alternative. Afterwards, add what happened. Cloud interrupted the view, faint contrast was poor, or the planetary image settled beautifully are distinct outcomes. Over repeated sessions, that simple comparison turns forecast terms into practical knowledge about the kinds of night you can use.