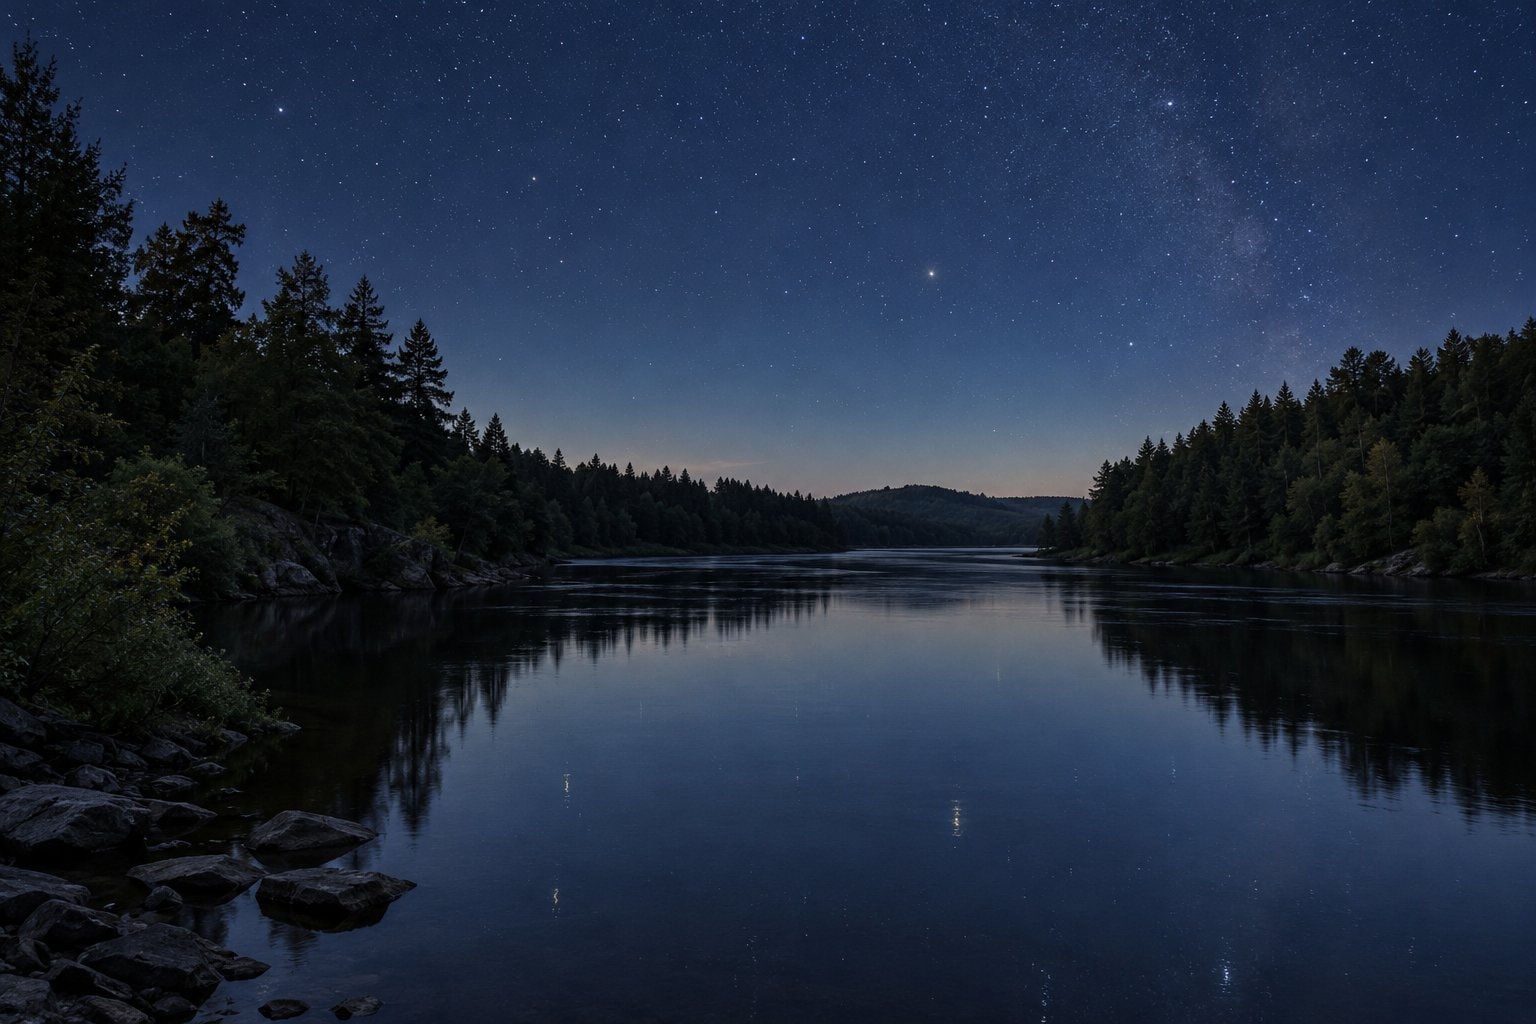
An observing place has to work at ground level before it can work as a view of the sky. You need permission to be there, a clear route back, a stable place for equipment and a horizon suited to what you hope to see. Darkness matters, but a dark patch reached by an unsafe or forbidden route is not a useful choice. This guide runs no observing sessions and identifies no particular observing site.
A river-country setting
Wikipedia's selected account of the city places Rockford in far northern Illinois on the Rock River, approximately 90 miles west-northwest of downtown Chicago. That geography gives a broad regional setting for backyard astronomy rather than a destination or a promise of dark skies. A city, its outskirts and the surrounding countryside can present very different horizons. The useful question is what your own view contains when the lights are on and the Sun has gone down.
Wikipedia's Rock River article traces the river from Wisconsin into northern Illinois and onward to the Mississippi. The river is part of the landscape that gives Rock River Skies its name. An attractive waterside view and a practical observing place are separate considerations: a low bank, wet ground or an unfamiliar edge can matter more than a striking reflection. Examine the ground in daylight and keep equipment clear of uncertain footing.
Read the horizon before choosing targets
Stand where you would put the telescope and look around the whole horizon. Buildings and trees may remove a large part of the southern sky even when the view overhead is open. A clear southern outlook is useful when a target follows a low path across the sky. Also check the east and west if your plan depends on something rising or setting. A narrow gap can be enough for a short look, but it leaves less freedom to change plans.
Nearby lights deserve attention as well as the distant town glow. A lamp shining directly toward your face can be distracting even under a relatively dark sky. Look for an allowed position where a fence or existing screen blocks the direct beam without hiding the target. Do not alter someone else's lighting or cross a boundary to find a better view. Your observing plan should fit the place, its owner and its rules.
Wikipedia's light-pollution article describes skyglow as the haze above cities produced when artificial light is scattered through the atmosphere. This helps explain why a distant settlement may appear as a pale dome rather than as separate lights. Moving away from a lamp does not necessarily move you away from that larger glow. The guide to light pollution explains the distinction between direct glare and a bright sky background.
Wikipedia's Bortle-scale article describes darker skies as having light domes confined to the directions of cities or absent altogether, while bright skies obscure faint diffuse objects. Treat such descriptions as comparisons rather than promises about what every observer must see. Haze, moonlight and the particular direction you are looking can change the view. A useful note describes the sky you actually saw, not just a label assigned to a general area.
Permission, access and firm ground
Private land needs the owner's permission. Public access also has limits: posted hours and any restrictions remain relevant after dark. Check them before making an observing plan, and do not assume that a place open during daylight remains open at night. An open-looking entrance is not evidence of permission. Keep the plan simple enough that leaving within the allowed hours is easy.
Choose ground that feels firm underfoot and supports the tripod or base without rocking. Watch for uneven surfaces, soft patches, drainage edges and cables that could cross a walking route. Set out equipment so you can move around it without stepping backward into something unseen. If the space is cramped, use a smaller setup rather than spreading parts along an access path. The route back should remain clear as the night grows darker.
A familiar backyard can be a good learning place even when it has limited sky. It lets you rehearse setup, finding targets and packing away without adding unfamiliar ground to the task. For a faint-object session, the darkness of the wider sky may become a more important constraint. Decide what the evening is for before deciding that a different place is necessary. A bright lunar view and a search for a faint galaxy ask different things of a horizon.
Cold air and moving air
Wikipedia's selected climate account says that winter in the region can bring bitterly cold Arctic air and severe snowstorms. Make weather part of the decision to observe, not an afterthought once everything is assembled. Clear air can accompany an uncomfortable or impractical night outdoors. Snow and ice also change the footing and the effort needed to carry equipment. It is reasonable for the ground conditions to end a plan before the telescope leaves its case.
The National Weather Service's wind-chill explanation describes the effect in terms of heat loss from exposed skin as wind and cold combine. A thermometer reading alone does not describe how standing outside will feel. Dress warmly, keep a sheltered place to pause available and give yourself an easy way to finish. The page on night vision and the observer's body discusses cold nights alongside the practical demands of equipment and late hours.
Weather also affects the astronomical view. A clear opening overhead does not mean the air will be steady, and a cloud-free forecast is not a guarantee that a faint target will stand out. Compare your plan with the guide to an astronomer's forecast, then look outside before committing to a long setup. Leave room for a simpler evening if conditions differ from what you expected.
A regional astronomy heritage
Wikipedia's Yerkes Observatory article places that Wisconsin institution in Williams Bay and describes its great refracting telescope. It is a useful historical contrast with the small portable instruments used in backyard astronomy: the same broad lens-based principle can appear at a very different scale. This is background about an institution, not information about visiting or observing there.
Wikipedia's Adler Planetarium article describes a public astronomy museum in Chicago. A planetarium explains the sky through an indoor presentation, while a telescope brings distant light to an observer outdoors. Both belong to the region's wider astronomy story, but neither substitutes for checking the actual ground, light and weather around your own equipment. A workable observing place is the place where those practical details have been considered.