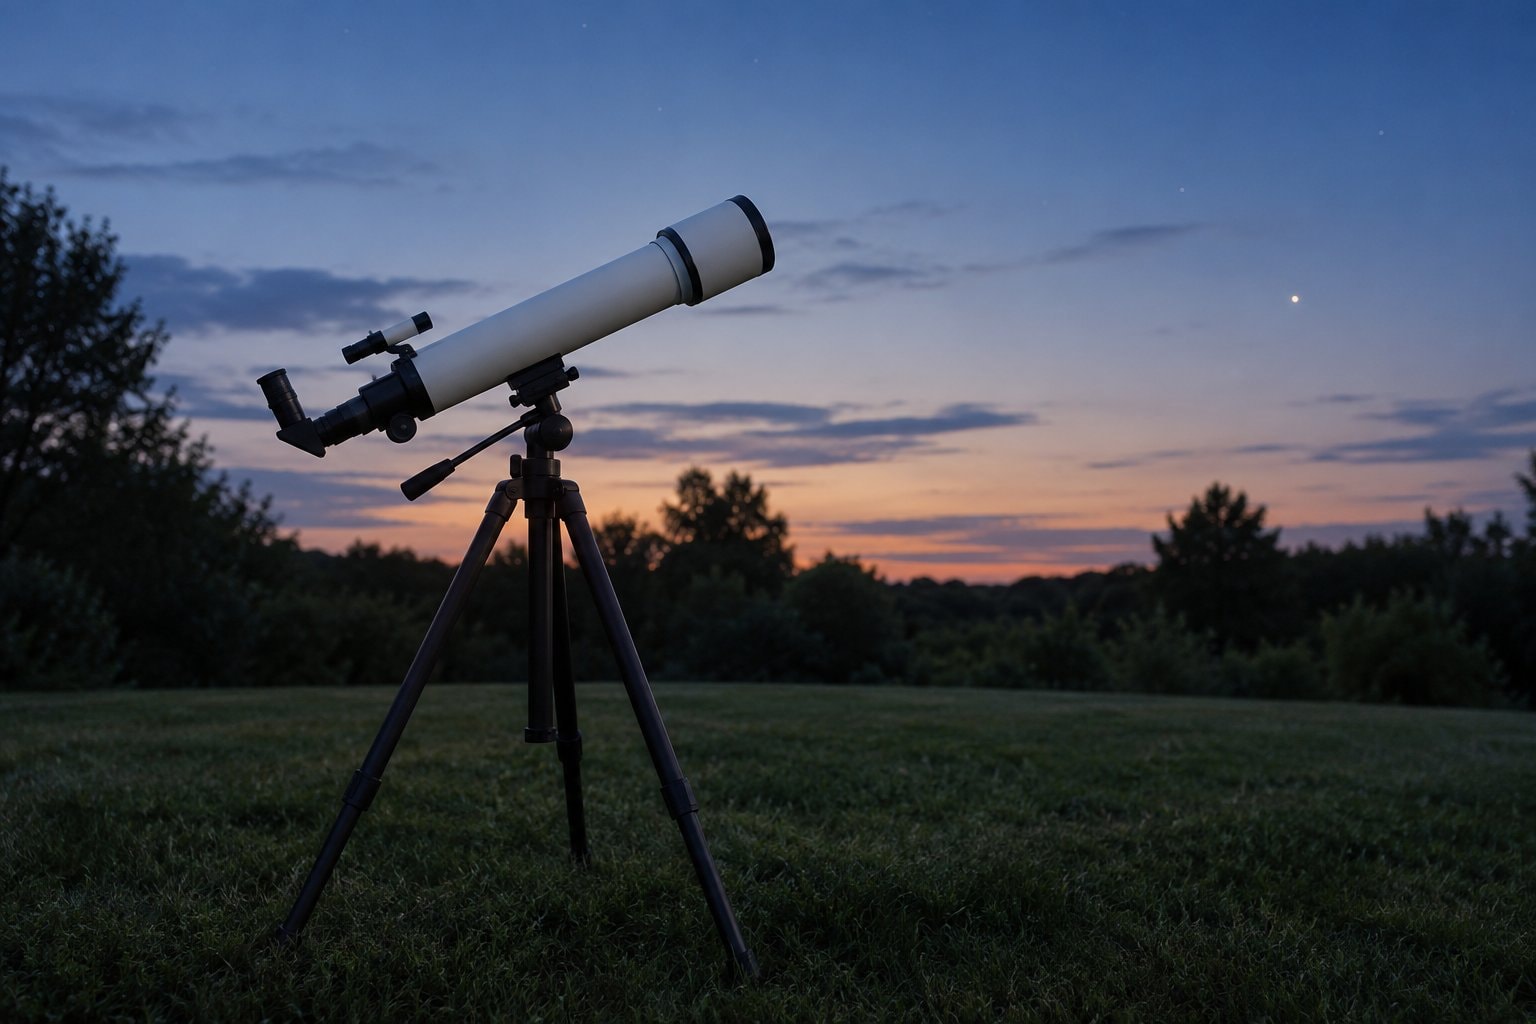
Beginning astronomy is easier when the first task is small enough to understand. Choose a part of the sky that can be seen from a safe, permitted place, then give it attention without an instrument. Notice the horizon, the direction you face and a bright pattern you can recognise again. A clear view of something familiar is more useful than a long list of objects whose positions are still confusing. Equipment can follow the questions that this first look raises.
Use the sky as a map
A planisphere, as Wikipedia explains, is a rotating star chart adjusted to show the visible sky for a chosen time, date and latitude. It gives a beginner a manageable view of patterns rather than an exhaustive catalogue. Use a version suited to the observing latitude and compare its horizon with the real one. The point is not to memorise the whole wheel. It is to recognise a shape, check its direction and begin to connect the chart with the view above you.
Wikipedia's constellation article distinguishes named regions of the sky from the patterns that help people recognise them. At the beginning, a clear pattern is enough to provide a foothold. Trace its shape with your eyes, compare it with the nearby stars and notice which way it is tilted. The guide to charts and star patterns explains why a map may need turning as you face a different direction. Work from the broad view toward the details, with room to stop and look up again.
Let the evening become dark
Wikipedia's article on eye adaptation describes a gradual change in the retina's response as the eye moves from bright conditions into darkness. Give your eyes an opportunity to adapt instead of judging the faintest possible sight immediately after going outside. Keep a bright screen out of the immediate routine and read the chart with a dim light. These are ordinary observing habits rather than a treatment or a promise about vision. The night-vision guide explains the process, the research and its limits in more detail.
It helps to arrange the practical parts of the evening before concentrating on a faint target. Know where the chart is, leave a clear place for the instrument and keep the route back indoors easy to follow. A garden light shining toward your face can make the experience frustrating even when the rest of the sky looks dark. Choose a position that avoids nearby glare without stepping onto uncertain ground. If the conditions become awkward, a shorter, simpler look is a reasonable outcome.
Try a wide optical view
Wikipedia's binocular article explains that these instruments combine matched refracting views for both eyes and describes the effect of magnification on steadiness. Binoculars can be a useful step before a telescope because aiming them still resembles looking toward a recognisable part of the sky. The broad view leaves surrounding stars available as signposts. Existing equipment is enough to learn whether that kind of view interests you. The binocular astronomy guide discusses handling, focus and the kinds of object that suit a wide view.
Begin by finding the target with your eyes, then bring the binoculars into position without losing the general direction. Settle your stance or sit where your arms can rest comfortably, and focus on a sharp star before judging a dim patch. A moving view is hard to study, so steadiness deserves as much attention as the apparent size of the image. Keep the surrounding pattern in mind if the target slips away. Returning to a known starting point is more useful than sweeping in an increasingly uncertain direction.
Choose bright, recognisable subjects
The Moon and bright planets provide useful subjects for the next stage. NASA's skywatching guide explains that the Moon's changing illumination makes different surface features more prominent along its day-night boundary, and that visible planets generally shine more steadily than stars. A partly lit Moon offers shapes and shadows that can be compared with a simple description. A planet may initially be only a recognisable point; that still answers a real question about the sky. There is no need to demand fine detail on every attempt.
Keep the expectations separate from photographs. A photograph may display a scene through a process very different from looking with your eyes, while a visual observation can be valuable without matching its colours or detail. Describe what is actually visible before checking what a more capable instrument might show. The outline of a pattern, a difference in brightness and the position of an object beside nearby stars all belong in that description. The task is to learn the view, not to force it to resemble a picture.
Ask what a telescope will require
Wikipedia's telescope article explains that a larger aperture gathers more light and permits finer angular resolution. That is a useful principle, but it is only part of choosing a manageable instrument. Ask where the telescope would be kept, how its separate pieces would be carried and whether the mount would allow a steady view. Consider the height of the eyepiece and the space needed to aim the instrument. The telescope guide compares optical designs and mounts without brand recommendations or prices.
Think through a complete observing evening rather than the telescope tube alone. Equipment that takes effort to carry and arrange may suit an observer who enjoys that process, while a simpler setup may suit an evening built around a brief look. The useful question is which practical steps you are willing to repeat. An instrument's aperture, mount and portability work together in that decision. Knowing the terms allows a more informed comparison without needing a ranking of products or a promise about what every instrument will reveal.
Learn through careful notes and shared explanations
A short notebook entry can record the target, the surrounding pattern, the instrument and the condition of the view. Note whether the image was steady, which part was easiest to recognise and what remained uncertain. A sketch can be rough; its purpose is to preserve your own description for a later comparison. Keep observation separate from identification so that a guess does not turn into a firm claim. The next evening can then begin with a specific question rather than with a blank page.
Wikipedia's account of star parties describes amateur astronomers observing together with telescopes and binoculars, while its amateur-astronomy article describes societies that share learning about the sky. That explains why beginners may hear about shared opportunities to understand different instruments. This guide runs no club, events or observing sessions, and it gives no schedule for any group. General explanations can still make the language of the hobby less unfamiliar. A practical beginning remains a clear question, a manageable view and the patience to compare what you see.
Never look at the Sun through binoculars, a telescope, a camera or a phone without a proper solar filter made for that purpose covering the front of the instrument, and never with the naked eye except through eclipse glasses or viewers that meet the safety standard described in NASA's eclipse-safety guidance.