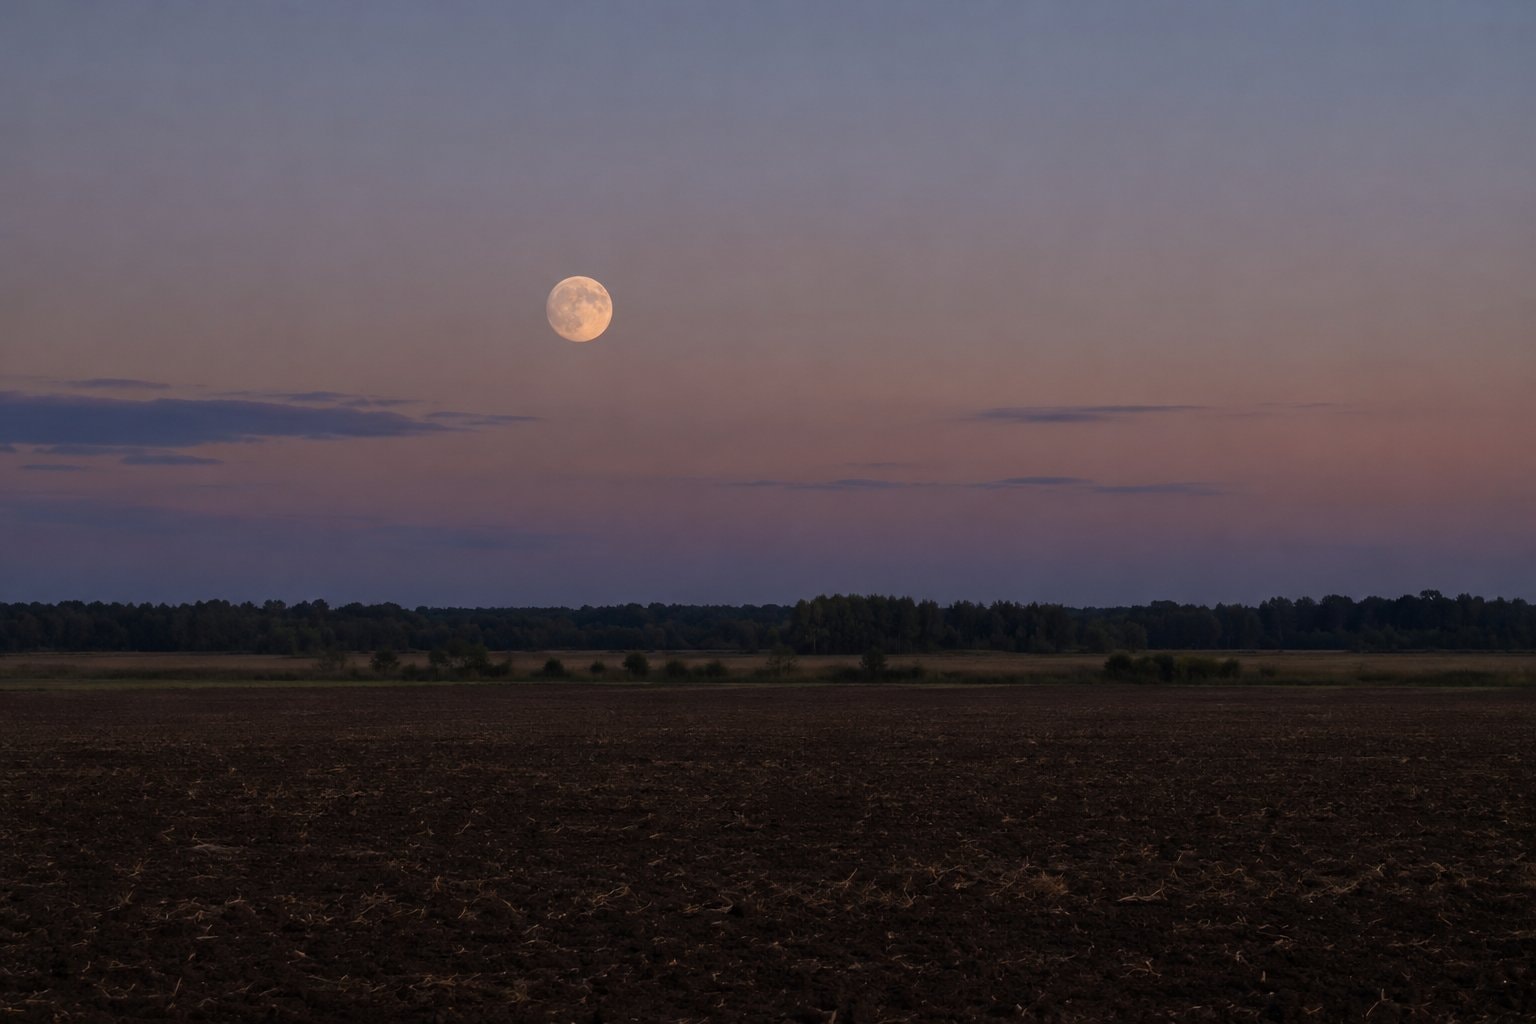
The Moon is a rewarding place to begin because you can compare a familiar shape in the sky with a landscape in the eyepiece. A brief look can reveal a broad dark patch; a patient look can raise questions about its edge, the shadows beside it and the ground beyond. The Moon is Earth’s natural satellite, and Wikipedia’s Moon article describes the tidal locking that keeps its familiar near side facing Earth. The changing appearance is chiefly a change of lighting across that familiar face.
A landscape in light and shade
The same Wikipedia article explains that the dark maria are plains of solidified basaltic lava, while impact craters mark the surrounding landscape. Start with these broad differences before trying to name individual features. Look for a dark region, follow its outline, then compare it with the brighter ground nearby. Keep attention on what is actually visible. A lunar chart can help orient the view, but there is no need to identify everything during an early session.
NASA’s Moon overview describes craters as records of impacts whose traces remain because the Moon lacks wind and liquid water. This makes the Moon a useful subject for learning how appearance and explanation fit together. A round mark might be easy to recognise, yet its floor, rim and nearby shadows may require another look under different light. Describe the shape first. Add a name only when the chart and the view agree.
Why the face changes
As NASA’s Moon phases page explains, the Sun illuminates half of the Moon, but the amount of that illuminated half visible from Earth changes as the Moon moves through its orbit. A crescent, a fuller curved shape and a bright round disc are views of sunlight across the same world. Wikipedia’s lunar-phase article distinguishes ordinary phases from Earth’s shadow: the changing phase comes from the angle of sunlight on the Moon, rather than Earth casting a shadow across it. Thinking of a lit ball seen from changing directions is more useful than imagining a curtain moving across the Moon.
In Wikipedia’s lunar-phase account, waxing means the visible lit part is growing, and waning means it is shrinking. These words describe the visible lighting, rather than a physical change in the Moon’s size. Notice which side is lit and how thick the bright shape looks. Then return on another suitable evening and compare. A quick drawing can make that change more memorable than a list of phase names learned indoors.
NASA’s Moon phases page places the full Moon opposite the Sun in the sky, rising around sunset and setting around sunrise. That broad pattern helps explain why different phases suit different parts of the night. It also explains why the Moon is sometimes a daytime sight. NASA’s phase guide notes that the Moon can be visible during daylight; it need not be sought only after dark.
Follow the terminator
NASA’s skywatching guide explains that changing sunlight makes craters and mountain ranges stand out along the terminator, the boundary between lunar day and night. Begin there when you want a view with a strong sense of relief. Trace the curved dividing line slowly. Look for bright rims beside shaded floors, isolated bright points near darkness and uneven edges where the landscape interrupts the light. Compare this with the brighter regions farther from the boundary.
The useful question is often how a feature looks under the present light, rather than whether it is visible at all. Make a note of a crater that seems easy to recognise, then sketch the direction of its shadow. A later view may look surprisingly different. Leave room in the notebook for uncertainty about shapes that appear only briefly.
Binoculars and a small telescope
Use binoculars as an introduction to the whole disc. Rest your elbows or steady the instrument against a suitable support, keeping the view comfortable. Compare the dark maria with the bright ground around them, then move attention toward the terminator. The aim is a settled view that you can study, with enough surrounding sky to keep the Moon easy to locate.
A small telescope lets you study a smaller part of the landscape. Begin with a wide view, focus carefully and centre the region that interests you. Try a closer view only when the outline stays reasonably crisp. If the scene shimmers or drifts out of view too quickly, return to the wider view. The planets through a small telescope require the same patience with steadiness and focus.
Check the orientation before comparing an eyepiece view with a chart. Work from recognisable dark shapes and the bright limb, rather than assuming the chart’s top matches the top of the view. A rough sketch should show the arrangement you saw. It is a record for comparison, not a drawing contest or a claim to survey the lunar surface.
A crescent and its faint companion glow
NASA describes earthshine as sunlight reflected from Earth onto the Moon’s darkened near side, making the rest of the disc faintly visible beside a crescent. Look for it as a soft outline surrounding the bright crescent. Compare the brightness of that dim part with the sky beside it. Do not expect the faint view to show all the detail visible on the sunlit part. Even noticing the complete outline can make the changing phase easier to understand.
A broad full-Moon view is still worth studying. Try following the shapes of the maria or looking for bright streaks across the disc. The purpose of a session can change with the lighting: surface relief, the broad pattern of the face and earthshine are different questions. A disappointing view for a particular feature can still be useful for another.
Fit the Moon into a night’s plan
Wikipedia’s light-pollution article notes that a full Moon raises the brightness of the night sky. Give lunar viewing its own place in a plan rather than expecting the same night to offer every faint target. The guide to the year in the night sky puts changing moonlight beside meteor showers and seasonal sights. A bright lunar evening can be a good reason to stay with the Moon and planets.
The U.S. Naval Observatory’s Sun and Moon data service supplies rise, set and transit times, civil twilight information and lunar phase information for a chosen date and location. Pair that information with a clear horizon and the time you can comfortably spend outside. A rise time describes the astronomical horizon; nearby trees or buildings still matter to the view from your chosen place. Note the phase, the instrument and the broad conditions beside your sketch, so the next lunar view has something concrete to compare with.