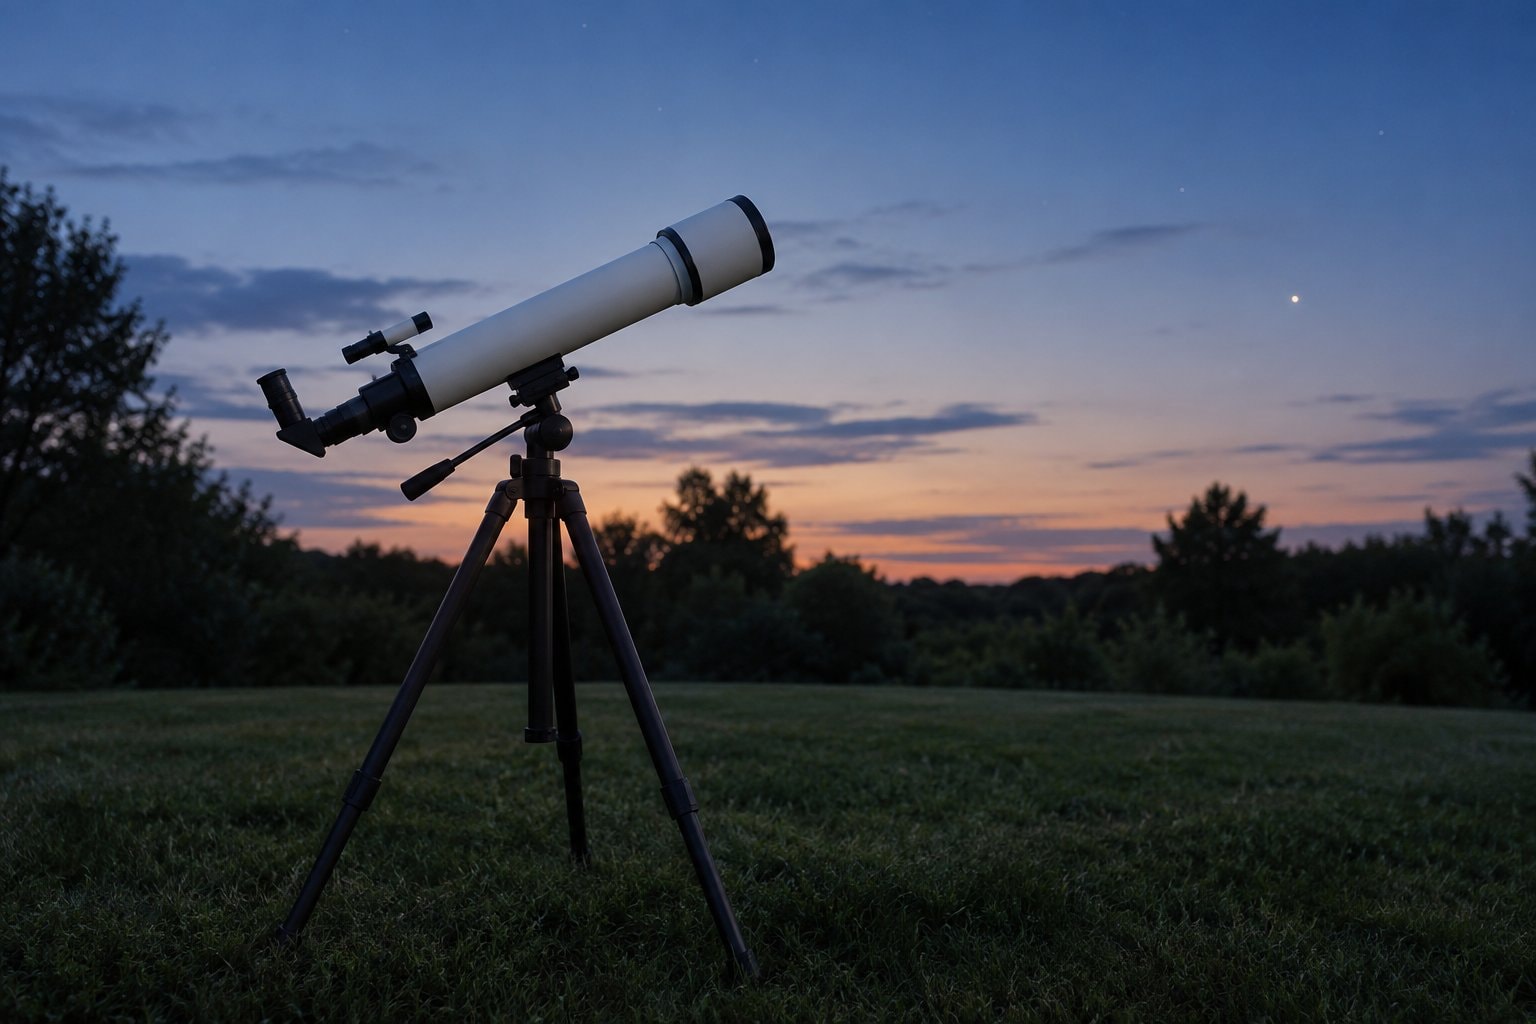
The planets turn a small telescope toward worlds whose appearance can change without losing their identity. Begin by recognising their position among the stars, then use the telescope to ask a more specific question: how does the outline look, what is beside it, and which details remain clear when the air settles? In its article on planets, Wikipedia identifies Mercury, Venus, Mars, Jupiter and Saturn as the wandering points of light visible to the naked eye. A telescope adds a closer view, but finding the right target still comes first.
From a point of light to a world
Begin with a chart that represents the sky you are observing. Identify nearby star patterns and check the planet’s position against them. Brightness alone can be misleading, especially close to the horizon. Keep a note of the surrounding stars so that a later view has a clear reference. The page on constellations and star charts explains how those signposts fit together.
At the telescope, use a wide view to find and centre the target. Focus with care, then try a closer view only if the outline remains clear. The ability to keep the planet comfortably in sight matters as much as enlarging it. If the image wobbles whenever you touch the instrument, wait for it to settle before deciding what detail is really present.
NASA’s skywatching guide notes that planets tend to shine steadily while stars often flicker. That makes a steady bright point a useful clue, though it is not an identification by itself. Near the horizon, poor air can disturb almost any view. Look for agreement between position, appearance and the chart rather than relying on a single impression.
Venus: study the outline
NASA’s Venus overview describes a world wrapped in clouds, so an eyepiece view should not be mistaken for a view of its ground. Begin with the bright shape and its edge. Ask whether the outline is easy to hold in focus and whether the view changes when the air steadies. Avoid interpreting every patch of colour or shimmer as a surface feature. A simple drawing of the visible outline can be a more dependable note than an elaborate description of uncertain markings.
Plan a Venus session around a clear view of the correct part of the sky, with daylight solar safety kept firmly separate from nighttime observing. Do not sweep with binoculars or a telescope close to the Sun while searching for a planet. For a beginner, a target safely visible after the Sun has set is a more manageable starting point than a difficult search in a bright sky.
Mars: let the conditions set expectations
NASA’s Mars overview describes a dry, rocky world that appears as a bright red point in the night sky. Its colour is a useful part of its identity, but the telescope’s view deserves patient attention. Start by checking whether you can distinguish a settled disc from a restless blur. If the disc remains tiny or soft, describe that honestly. The value of the session lies in the observation made, not in matching a dramatic photograph.
Look for broad differences in brightness only when they persist as the view settles. A feature that seems to appear during a brief sharp moment can go in the notebook with a question mark. Repeated looks make that uncertainty visible instead of hiding it. Avoid filling in an expected pattern from memory; begin with the shape and contrast actually seen through the eyepiece.
Jupiter and its nearby points
NASA’s Jupiter overview identifies it as the largest planet in the solar system. A useful first task is to look beyond the bright disc for nearby points. Centre the scene with enough surrounding space to keep those points in view, then make a rough drawing of their positions relative to the planet. This gives the observation a clear purpose even if fine detail on the disc remains elusive.
Wikipedia’s account of the Galilean moons names Jupiter’s four largest moons as Ganymede, Callisto, Io and Europa, and notes that ordinary binoculars can show them despite their closeness to the bright planet. Their changing arrangement gives repeat observing a particular interest. Leave the drawing simple: the disc, the points that are confidently seen and their positions on either side. Do not label every point with a moon’s name unless a suitable reference supports that identification. Nearby background stars and uncertain glimpses deserve their own notes.
The planet itself rewards patience as well. Look for broad bands or differences in brightness before attempting tiny details. Record whether a marking was continuously visible or appeared only as the image settled. A repeat visit under steadier air is a better comparison than raising magnification until a soft image merely looks larger.
Saturn and its rings
NASA’s Saturn overview describes a world made mostly of hydrogen and helium, surrounded by a ring system. Begin by trying to separate the planet’s body from the outline around it. Let the instrument settle after focusing and give the shape time to become familiar. The ring system makes Saturn an inviting subject, but the appearance through a modest instrument still depends on the view, the equipment and the atmosphere.
Keep expectations tied to visible structure. A confident outline is worth noting even when a fine gap or subtle band remains uncertain. Draw the direction in which the rings extend and compare their brightness with the planet’s body. Leave out details that appear only when you expect them. Photographs can explain the scene later without dictating what the notebook says you saw.
Steady air matters
Wikipedia’s astronomical seeing article explains how turbulence in Earth’s atmosphere blurs and distorts an astronomical image and makes stars twinkle. Clear sky and steady sky are different things. A night can be free of obvious cloud while the planetary image ripples or softens. Give attention to the changes in the view: an outline that suddenly becomes sharp and then blurs again is a reason for patience, not proof of a fault in the telescope.
The guide to reading an astronomer’s forecast separates seeing from cloud and transparency. Use that distinction to choose a task for the night. Planetary detail asks for settled air; a broad survey of the sky may still be enjoyable when close views are unsteady. Be willing to change the task when the view changes.
Make repeat views comparable
Keep notes on the instrument, the eyepiece and the general conditions, alongside a sketch of the target. Write what remained clear and what did not. A description such as a steady outline with uncertain markings can be more useful later than an unqualified claim to have seen everything. Keep the language as simple as the view demands.
The Moon offers another way to practise this kind of careful looking, with strong outlines and changing light across a familiar landscape. Planetary observing develops through the same habit: locate, settle, look again and record the view as it appears. An ordinary night can become worthwhile when the question is small enough to answer at the eyepiece.